

Recipes
Stripe payment → HubSpot contact + thank-you email
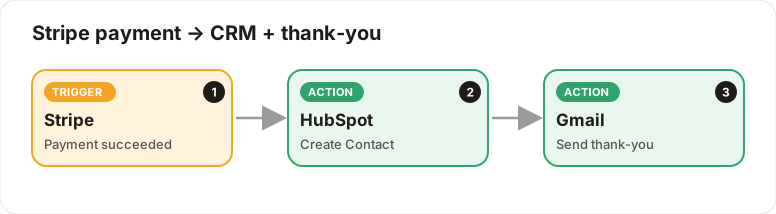
Each successful payment creates or updates the customer in HubSpot and sends a thank-you.
Level: Intermediate · Time: about 15 minutes · Category: Sales, e-commerce & CRM
Watch the workflow being built in BeeGentic (no sound).
What it does
When a payment succeeds in Stripe, BeeGentic adds the customer to HubSpot and sends them a personal thank-you email.
Payment details sit inside <stripe.data.object…>. Type < after a test event to see the exact fields for your event type.
You'll need
- A Stripe account: the webhook signing secret (
whsec_…) - A HubSpot account (your admin must have HubSpot configured)
- Gmail
Build it step by step
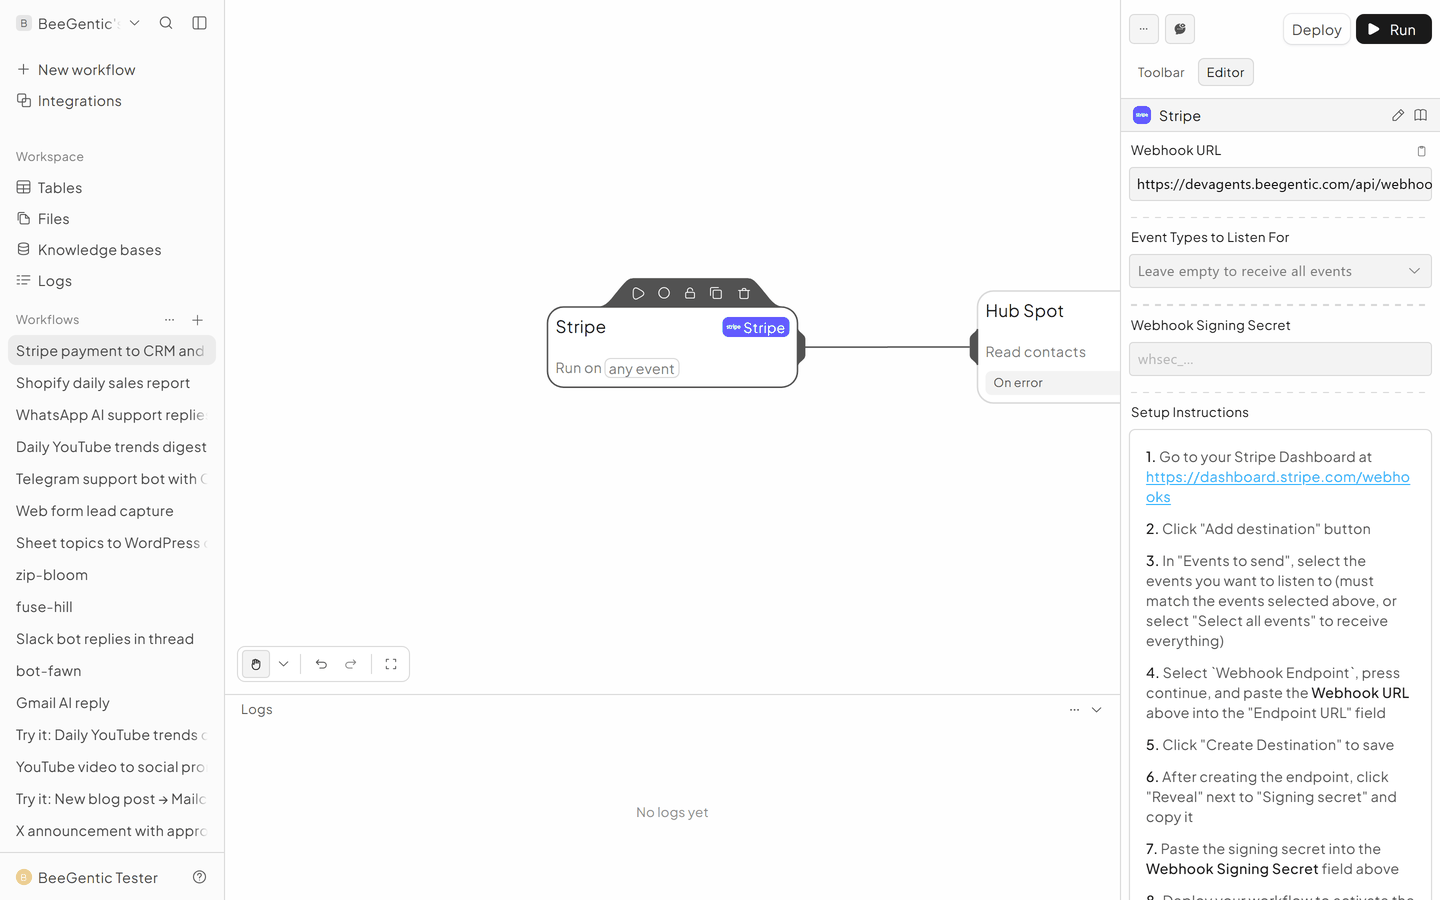
Add the Stripe trigger
New workflow, delete Start. Triggers → Stripe.
- Event Types:
payment_intent.succeeded - Copy the Webhook URL to Stripe → Developers → Webhooks → Add endpoint
- Paste Stripe's Signing secret into Webhook Signing Secret
Create the HubSpot contact
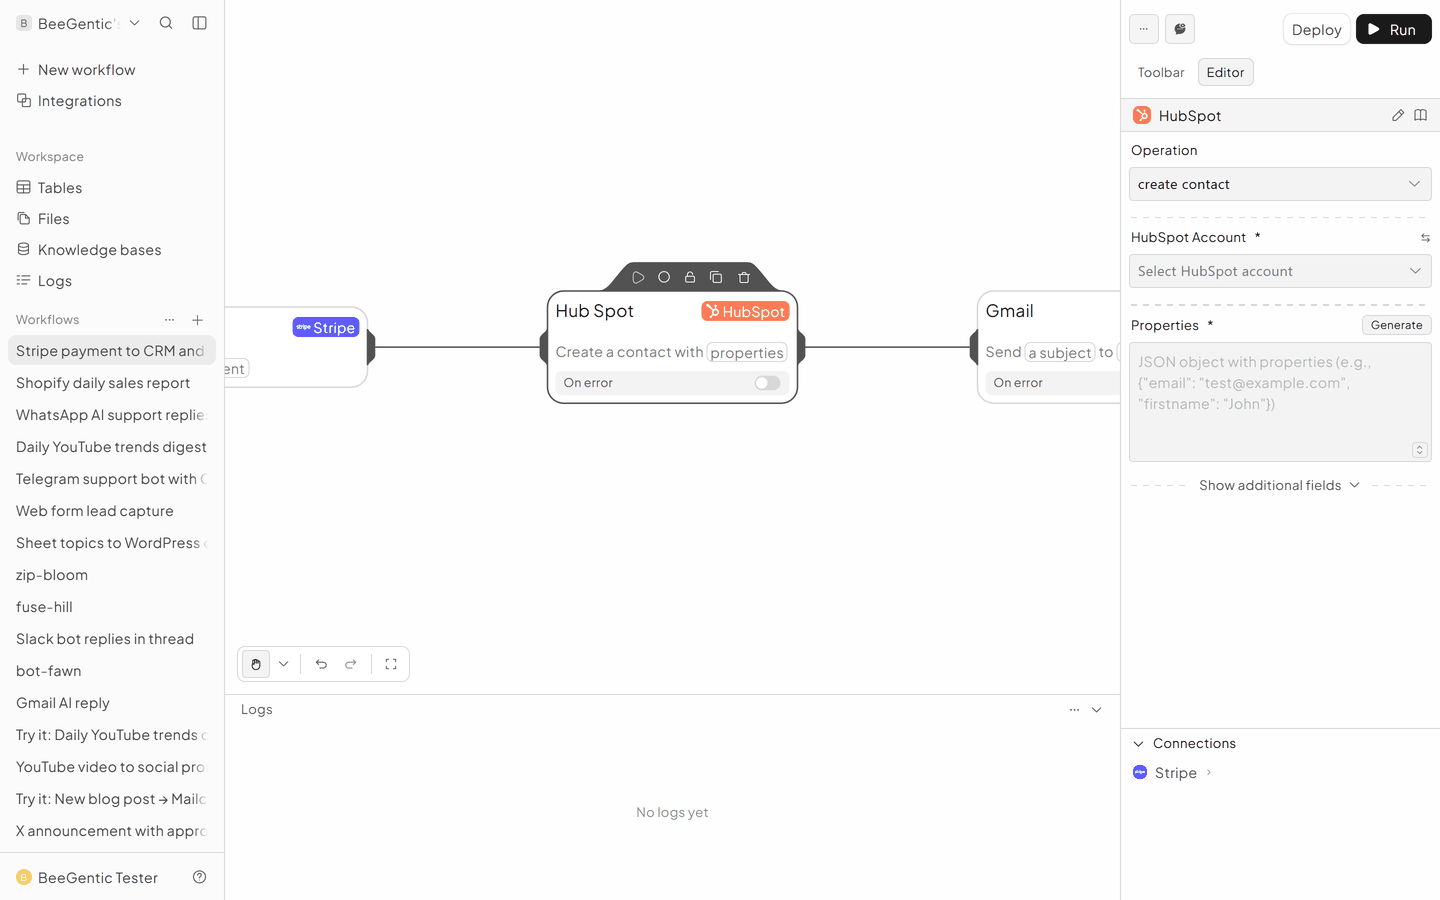
Integrations → HubSpot.
- Operation: Create Contact
- Properties:
{"email": "<stripe.data.object.receipt_email>", "lifecyclestage": "customer"}
Send the thank-you
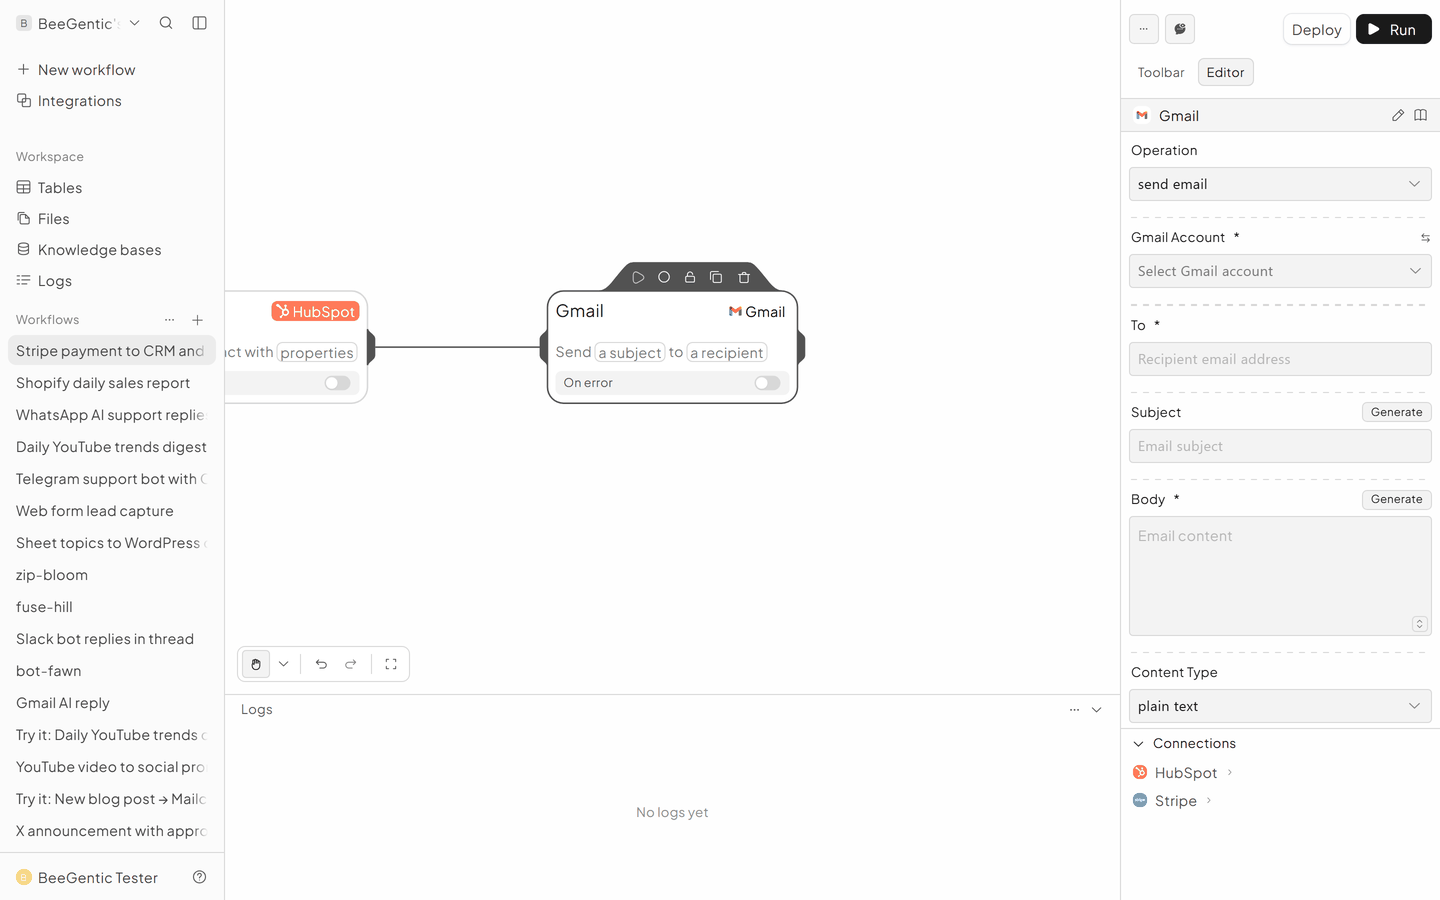
Gmail → Send Email.
- To:
<stripe.data.object.receipt_email> - Subject:
Thank you for your order! - Body: your message, or add an Agent to personalise it
The finished workflow
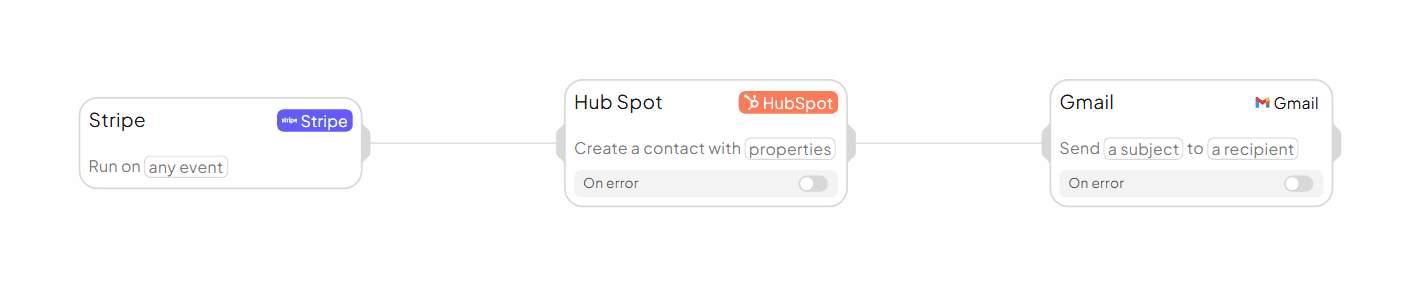
Test it and switch it on
In Stripe → Webhooks → your endpoint → Send test webhook (payment_intent.succeeded), then check Logs.
Make it yours
- Big orders: a Condition on
<stripe.data.object.amount>over 50000 (that's $500, since Stripe amounts are in cents) alerts Slack.
Something not working? See Troubleshooting or get help.